Saturday, April 21, 2012

The Cutest Plarn Grocery/Beach Bag

Finally after much delay due to the many illnesses on behalf of my family, I return to my blog with my promised plarn grocery/beach bag pattern. This bag is huge which makes it great beach bag, but it can definitely be used as a very durable grocery bag. I love this plarn bag because it is especially cute. Considering that the average plarn bag is either white or tan, The ribbon embellishment adds a great pop of color. This pattern is perfect for tomorrow, which is Earth Day, so give Mother Nature a huge fist bump and make plans to make this bag.

Here's what you'll need:

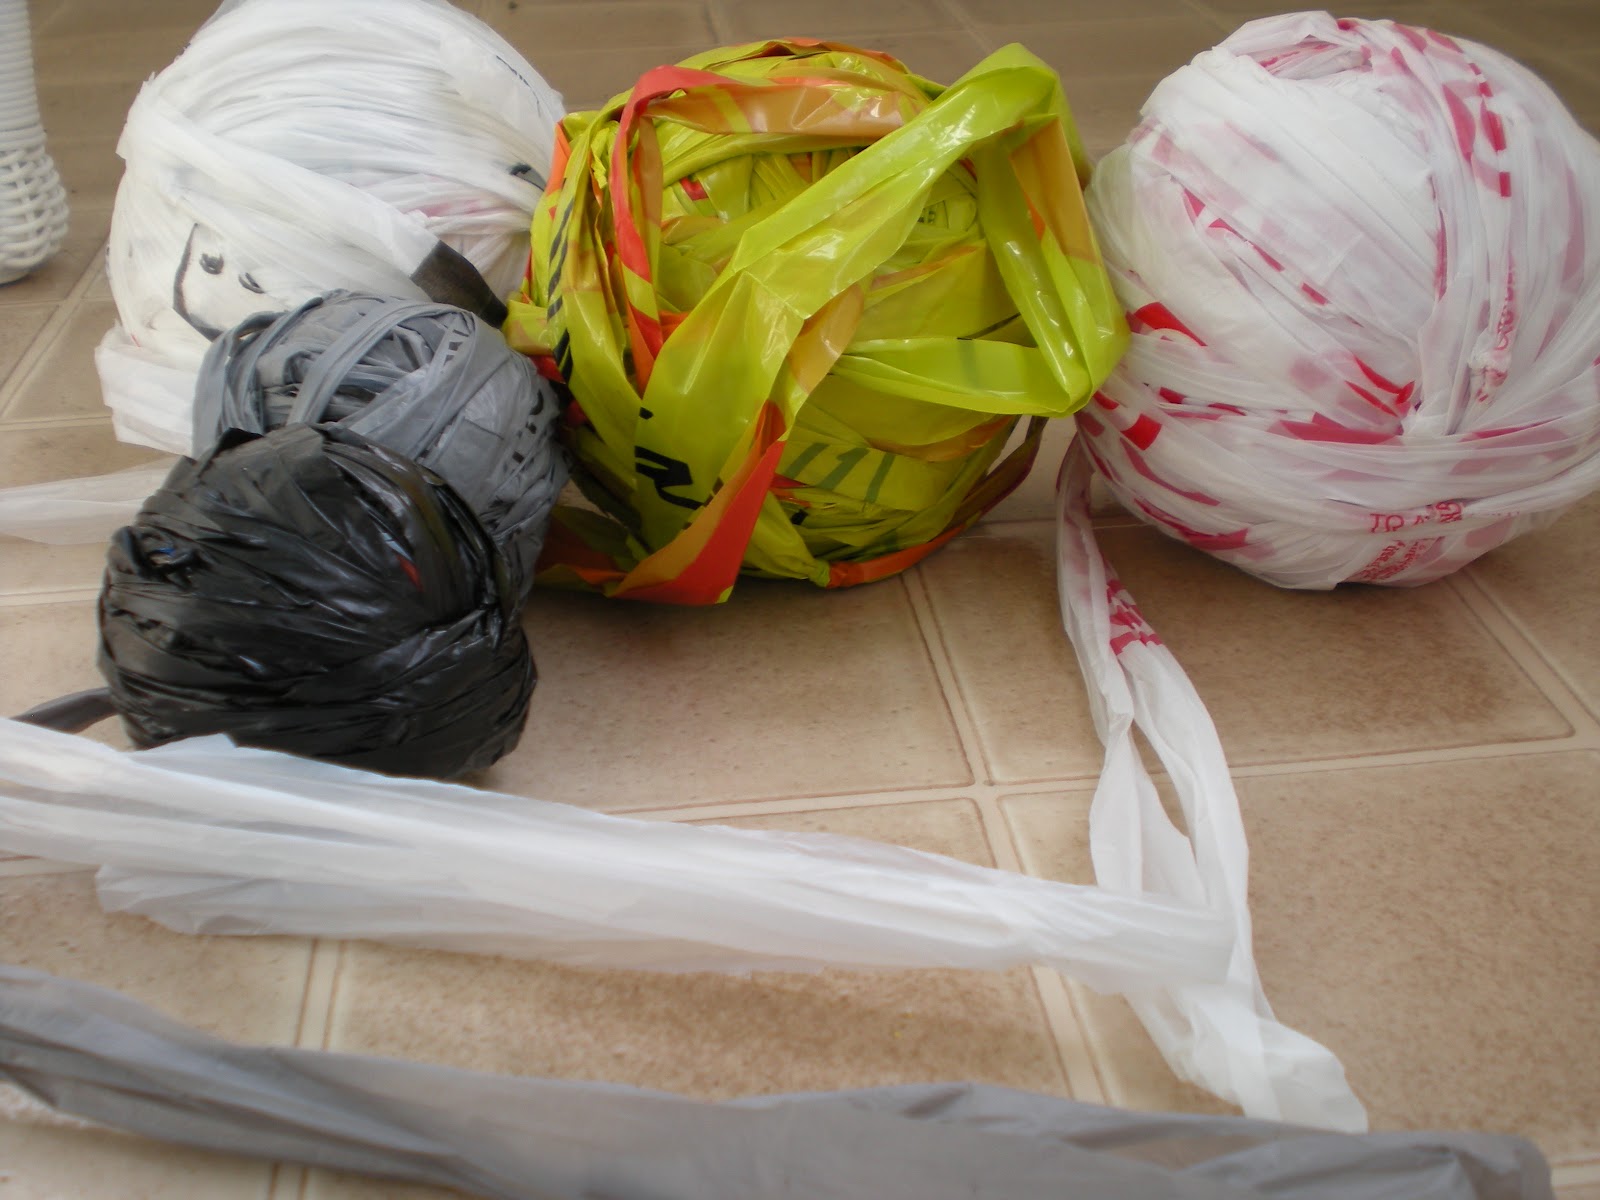
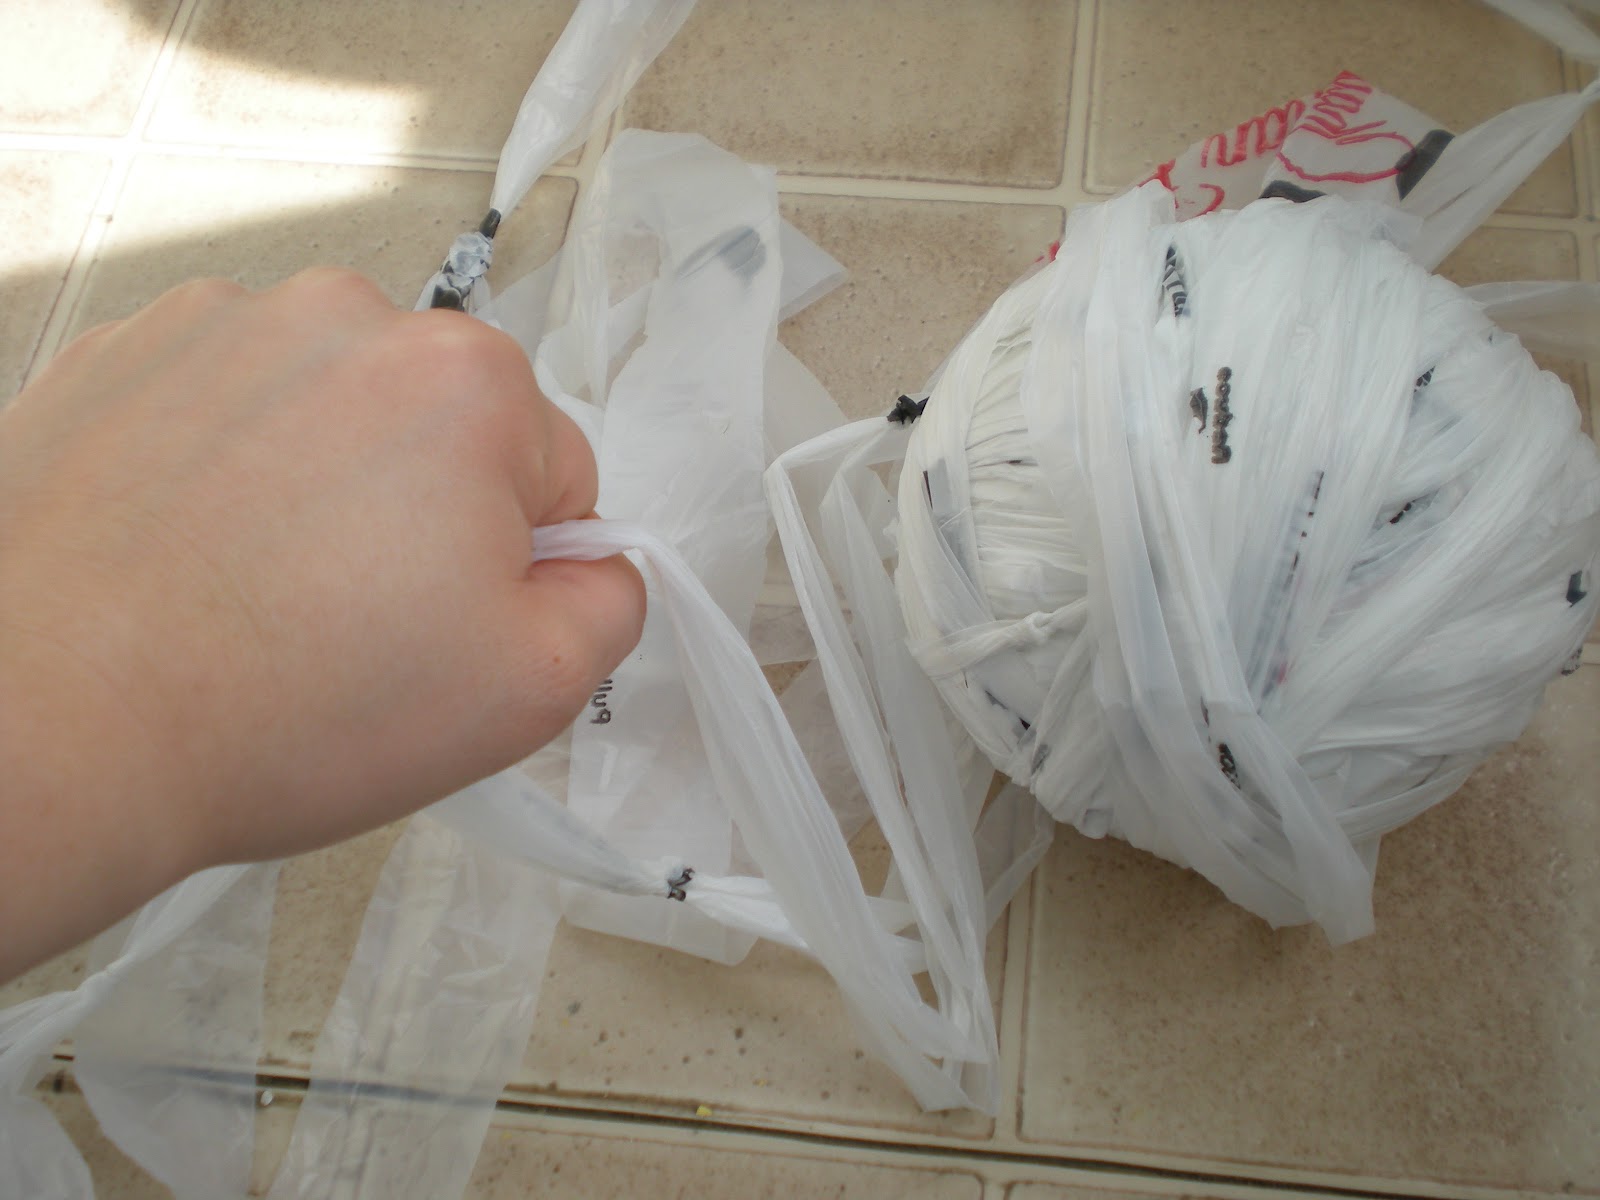
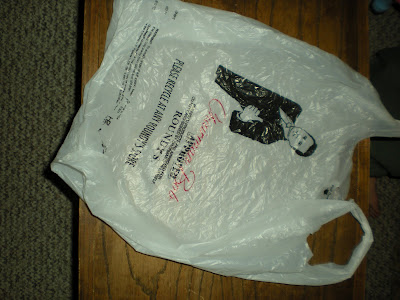
1. Plarn and lots of it (200 grocery bags worth to be safe. If you don't have 200 grocery bags to make plarn don't go to the grocery store to get it. That will defeat the purpose of recycling. Ask your friends and family. I am sure grandma has millions stashed somewhere. For a tutorial on how to make plarn here is a link to my previous post:
2. Crochet Hook Size H/5.5mm
3. Red Ribbon: 7/8" width I took about 4-5 skeins of it.
5. 4 Stitch Markers or Safety Pins or Paper clips to keep your space.
6. Safety Pins to attach skeins of ribbon
6. Needle and red thread (or whatever colored thread to match your ribbon)

Here's the Pattern:

To begin, you construst the base:

Ch 36.
Row 1-13: Sc into each of the 36 ch, ch 1, and turn.
Row 14: Sc into the next 35 sc, 3 sc in the next sc at the end of the row (i.e. 36 sc st) (This makes the corner, sc in the sts that make up the width of the bag (about 12 sc), 3 in the last stitch that makes up the width (this will make the corner) Now you are on the other side of the length of the base where you originally chained 36. Sc in each of the next 35 st, 3 sc in the next sc at the end of the row (i.e. 36 ch st) (This will again make the 3rd corner), sc in the sts that make up the width of the bag (about 12 sc), 3 in the last stitch that makes the width and slip stitch to join the beginning row.

Now on to constructing the body of the bag:

Row 15: Ch 1, sc in the BL only in each sc in the round. Sl st to join rnd.
Row 16: Ch 1, sc in both loops in each sc in the round. Sl st to join rnd.
Row 17,21,25,29,33,37: Ch 3 (counts 1 dc), dc in both loops in each sc in the rnd. Sl to join rnd.
Row 18,22,26,30,34,38: Ch 1, sc in both loops in each dc in the rnd. Sl St to join rnd.
Row 19,23,27,31,35: Ch 4 (counts as 1 dc and ch 1), skip sc, *dc in the next sc, ch 1, skip the next sc,** repeat * to ** 54 x, sl st to join rnd.
Row 20,24,28,32,36: ch 1, sc in each sp in the rnd. Sl st to join rnd.

Lastly, how to construct the shoulder straps for the bag:

Preparation for placement of straps: Lay the bag flat. Measure 5" in on the right and left end of the bag and mark with a stitch marker or a safety pin. Do this on the other side of the bag as well. The 5" marker is the middle of each strap. This will mean you will have 4 stitch markers in all (two on each side of the bag) Crochet the the straps to the following pattern:
*Row 1: Sl st into the sc that 2.5" from the end of the bag and the stitch marker.Ch 1, sc in the next 7 sc. (You will have to take out yout stitch marker when you do this, but you will no longer to need on this end of the bag).
Row 2: 1 ch, sc in the next 3 sc, ch 1, skip next sc, sc in the next 3 sc.
Odd numbered Rows: Sc in the next sc.
Even number Rows: ch, sc in the next 3 sc, ch 1, skip next sc, sc in the next 3 sc.
You will have to repeat the even and odd numbered rows until you have 77 rows in total. Sc the strap to the other end of the bag on the same side of the bag making sure that the middle of the strap is at the place where the other st marker is. Remove the stitch marker if it is the way. I know that sounds funny but that is the only way I can describe it. I might have to illustrate with pictures at some point.** Repeat from * to ** for the other side of the bag.

Adding the Ribbon Embellishment

You'll that you created gaps in the body of the bag for rows 19,23,27,31,35. This is where your ribbon will go.
Step 1: I safetypin my ribbon to the place where I start to creat some tension. Weave from outside to the inside in the gaps horizontally. If the ribbon fills up the gap on one row move your ribbon up without cutting. Trust me don't cut anything because if you mess up you will have stitch the ribbon up later. Do this until all the gaps are filled in in the body of the bag. When you run out of a skein saftey pin the end of one skein to the beginning of the new skein of ribbon.
Step 2: Once you are happy with the placement of the ribbon, cut off the remaining ribbon that did not get weaved in. Hand stitch where you put safetypins were that connected the ribbon.
Step 3: Hand stitch with a needle and thread the ribbon to inside of the bag only. You don't want the red thread to show up on the outside of the bag at the ends of the ribbon. You don't need to stitch long the route of the ribbon.
The ribbon embellishment for straps are made the same way, except you won't need to safety pin the ribbon as you will only need one skein for both straps. Sew the ribbon into the inside of the straps at the ends only

Take this beautiful bag with you to grocery for one-stop/one-bag shopping. Or go to the beach with all the towels, sunscreen. bottled water, and snacks that you cram into this huge bag!

Tuesday, March 13, 2012

How to Make Plarn

Recently I posted about why plarn (plastic bag yarn) is a good way to craft without making a dent on your pocketbook or on the environment. To prepare for Earth Day which is coming next month (April 22) I thought I would show you all how to make plarn. Maybe you can prepare a plarn project to celebrate the Earth's special day.
I recommend acquiring a lot of plastic bags from your friends and family members. However, I do not encourage you to ignore your reuseable bags when you take a trip to the grocery store just so that you can acquire more plastic bags to make plarn; that would defeat the purpose of being eco-friendly. What I did was I sent out an email to all my friends and posted as my status on facebook (or what social network that you may use) what my intentions were and what my request was. You will probably get funny looks or comments about asking people to save and give you plastic bags, but don't worry about it because once they understand what you are about then they will be your greatest benefactors of plastic bags.

I would like to give a special shout out to all the family members and friends who gave me their plastic bags to use. I hope you are relieved to have your plastic bag cabinet or drawer free from plastic bag clutter. It really help me out. You know who you are.
The process is very simple, so simple in fact that you can get your kids to help you (under close supervision, of course). Here is what you will need:
  1. One pair of scissors
  2. Bunches of plastic bags (I recommend at least 30 so that you can make a nice ball)
  3. Paper and Pencil (I make a bag tally so that when people ask how many plastic bags are in a particular project I can just tell them)
Step 1: Spread out your plastic bag so that it is smooth. Make sure the bag is not inside out.
 

Step 2: Fold the left side of the bag one quarter of the way towards the center


Step 3: Repeat step 2 for the right side of the bag


Step 4: Fold the left side to the middle of the bag.


Step 5: Fold the right side to the middle of the bag.


Step 6: Fold the left side on top of the right side of the bag


Step 7: Cut the handles and the bottom of the bag off and discard the handles and bottom.
(I recommend making a plastic bag into a plastic discard bag. All you have to do is drop it off at your grocery store. They usually have a recycling bin or box, where you can have your plastic bags recycled. I know Target and Pick n' Save does this). 
Step 8: Cut the folded bag into 1 inch rectangles


Step 9: Unfurl the 1 inch rectangles. It will make a loop. Kind of cool, right?


Step 10:  Tie the ends of 2 plarn loops together by overlapping one end to another end of another plarn loop. Take the underlapping end (Loop #1) and fold it around the overlapping loop (Loop #2) so that it is on the top.

Tread the other end of Loop #1 through the end of Loop #1 that is folded on top of Loop #2. Hold Loop #1 with one hand and hold Loop #2 with the other and pull gently until makes a knot.
Try not to pull to hard or you might stretch the plastic or perhaps even snap the loop altogether. This will compromise the integrity of your plarn so be cautious

These pictures will illustrate
what I clumsily tried to expalin


Step 11: Repeat tying the loops together until you have connected all your loops like a giant chain.


Step 12: Start wrapping your plarn chain into a ball. What I do is I grasp one end of the plarn while I wrap it into a ball to sort of keep sort of make the two plies of the yarn together (you can liken this to spinning in a way)


This is what the finished product looks like.


You can do so much with plarn. You make reusable grocery bags, purses, and rugs. Basically anything that can be crocheted, knitted, or weaved, plarn can be used as your medium for any project. This is a great activity while you are watching television. The next post will include a crochet pattern for a large reuseable grocery bag (that is easy on the eyes) that will sure get people to say "How did you do that?" I hope you enjoyed this little tutorial have a great week!


Saturday, March 10, 2012

Why Plarn?

As you will notice as I post more designs on my blog that much of what I construct is made of plarn (plastic bag yard). Many people would ask why I would waste my time making something out of plastic bags when I could easily just make it with the traditional medium, regular old yarn? Plarn bags, purses, and totes sounds like a cheapskate way of trying to spend money on crafting materials, but it is hardly that. I make plarn for many of reasons. Yes, one of those reasons was money or my lack thereof, but mainly because I had become scandalized by the primary purpose of a plastic bag.
Grocery plastic bags were made for solely temporary purposes. Its function basically is to carry your purchases from the grocery store to your car and to carry your groceries from your car to your house. It only had to remain durable enough to survive this small trip. If it tears, no biggie, just throw it away. If your plastic bag drawer was full, that was okay it didn't a cost a thing; into the trash it goes. Really the lifespan of plastic bag in your life consists of the minutes; you drag it to your car and then to your home. That's it. The lack of durablity, the temporariness, and the inherent waste that plastic bags tend to produce (especially in our landfills and our cabinet space) doesn't seem worth the couple of minutes we spend with something that has become regrettably a staple in the American way of life. It really isn't efficient nor is it really that convenient when all things are said and done. The website about plastic from Environmental Protection Agency says:
    • 31 million tons of plastic waste were generated in 2010, representing 12.4 percent of total MSW.
    • In 2010, the United States generated almost 14 million tons of plastics as containers and packaging, almost 11 million tons as durable goods, such as appliances, and almost 7 million tons as nondurable goods, for example plates and cups.
    • Only 8 percent of the total plastic waste generated in 2010 was recovered for recycling.
    • In 2010, the category of plastics which includes bags, sacks, and wraps was recycled at almost 12 percent.
    • Plastic bags are among the nondurable aspect which generates about 7 million tons.*
Five minutes of use doesn't really justify that amount of waste and the damaging effects it has on the environment. It got me thinking how a plastic bag's life was really in vain. It exists merely for the appearance of efficency, comfort, and convenience. I wished there was a way to redeem the use of the plastic bags from being something that was temporary to something that was more permanent but not in the global warming, end-of-world kind of permanent.
Then, I remembered vaguely that a friend mentioned to me that people were making yarn out of plastic bags. I thought initially that would make some ugly yarn, but it wasn't until I did some online research that plarn was not that bad with a little ingenuity. It is durable and extends the plastic bag's lifespan to something bordering on longterm. I decided to give it a whirl, and I was hooked (no pun intended).

I made a grocery bag for myself and used it constantly. People started to stop me in the street to ask me about my grocery bag. I told them how I made it. The intial response was "You should sell this!" At first I was incredulous. Why would anyone spend $30 on a bunch of plastic bags transformed into an elaborate plastic knot? It is a combination of three reasons:
  1. It is an investment in the future: These plastic bags don't end up in a landfill that would take thousands of years to decompose, but ends up being a useful part of a person's life. Yes, it is still serving the purpose of transporting your groceries or whatever purchases, but it can repeat its purpose over and over again. A singel plastic bag cannot accomplish this goal. A single plastic bag can only take so much abuse before the handle snaps.
  2. It is a fist bump to Mother Earth: This seems self-explanatory. The less plastic bags you obtain from the grocery store by using a reuseable bag means less production of flimsy plastic bags. Now plastic companies are still going to produce them, but being a able to convert your's or your neighbor's plastic bags into something more permanent will definitely reduce the amount of bags if you bring a reusable plarn bag to the store.
  3. It was a way redeem the infamous plastic grocery bag from its original purpose: This may take some time to elaborate and perhaps I am going to an extreme here. When you make plarn and use it in your crafting, you are turning something that is intriniscally temporary (a flimsy plastic bag) into something totally permanent (a durable and quite attractive reusable bag). You are giving that plastic bag another life, which is more useful than what it originally was made for. It is sort of inspiring and empowering.
With all the stress that society puts on us to be eco-friendly this one seems not so stressful for me. It makes me feel like I am making a difference (albeit a small difference). Regardless, I have fun doing it. Now if you are not a crafter or you don't know how to knit or crochet but know someone who does tell them about plarn. If you know someone who makes plarn, supply them with the pages that might be stuffed in your cabinents somewhere. You might be giving your friend a new and affordable way to craft. I am thankful for my friends who brought it to my attention. I love to crochet and plarn just so happens to not put an elaborate dent in my pocketbook.

Plarn is initially not a beautiful thing, but with a little skill and a little flair it redeems the woesome temporariness of plastic bags and turns them into a beautifully longterm useful thing.

Sunday, March 4, 2012

Budding into Spring Square


Although it is March, there is about a 3-inch blanket of snow outside my window and all I can think about is the warmer days of Spring. I fantasize about not having to wear my snow boots just to take out the trash or get the mail, and I think of how free my limbs will feel at the thought of not having to wear a winter coat for long. I can't wait for nature to wake up once more and shake from its limbs the last remnants of snow and frost. I await for the signs of new life as flowers and trees form those little tiny buds that herald the news that Winter is gone. Those little buds are what inspired me to create the "Budding into Spring Square." The little clusters at the end of the circles remind me of the quickening of a flower and the star stitches hint of the what hides beneath the bud:a small blossom.You can transform this square into potholders, washcloths, or parts to a crocheted quilt.
These squares started out as my endeavor to make some unique looking coasters; however, my friends argued that it might look like doily. I still think it is an elegant coaster because I am not a doily-type of person (not there is anything wrong with that). To the right is the original idea I had. What do you think? Is it a coaster or doily?

During this debate of "coaster vs. doily," another friend suggested that I could easily attach them together to make an afghan of some sort. The thought intrigued me, and I experimented on a couple of circles to see what it would look to attach them together. The result was not to my taste. I don't like too many gaps in my afghans because I don't like the feeling of cuddling with a blanket and finding my toes can stick through it. However, the exercise got me to thinking how I could turn those circles into squares, and thus preventing places or holes from which my rebel tootsies can escape. The following pattern was the result:
Abbreviations:

Sc -- Single crochet
Hdc -- Half double crochet
Dc -- double crochet
Tr -- Treble crochet
CL -- Cluster
Beg -- Begin (Beginning)
Sl St -- Slip Stitch
WS -- Wrong Side
RS -- Right Side
Sp -- Space
St(s) -- Stitch(es)
Materials:
  •  1 skein of  medium worsted weight yarn.  Pictured is the multi-color from the Loops and Threads Cotton Club Wrangler Color (sadly this is a discontinued color). The solid blue comes from the Lion Brand's Cotton Ease line in the Lake color.
  • Crochet hook size: 4.25 mm (US G/6)
  • Close-up of Star Stitch
  • 1 tapestry needle to weave ends in
Special Stitches:
  • Beg Star of Star Stitch -- Ch 3, put your hook in the second ch from the hook and draw up a loop, put your hook in the same ch (the second chain from the hook) and draw up another loop, put your hook in the third ch from your hook and draw up another loop, put your hook in the same sc that the ch 3 came from and draw up another loop, put your hook in the next sc and draw up a loop, put your hook in the next sc and draw up another loop (now there should be 7 loops on your hook), YO and pull through all 7 loops on your hook and then ch 1.
    This stitch makes the lower half of the star.
  • Star Stitch -- Put your hook in the ch 1 sp of that you made in the previous star and draw up a loop, put your hook in the same ch 1 sp again and draw up another loop, put your hook in the last loop of the last star stitch made and draw up another loop, put your hook into sc the previous star stitch ended and draw up another loop, put your hook into the next sc and draw up a loop, put your hook in the next sc and draw up another loop (there should be 7 loops on your hook), YO, and pull through all 7 loops on your hook and then ch 1. This stitch makes the lower half of the star
  • Close-up of  Budding Cluster
  • Budding CL Stitch: Ch 1, In the next sc, *put your hook in on the RS and pull up a loop, yo and pull through 1 loop ** rep from * to ** 4x (There should be five loops on your hook) YO and pull through all five loops and then sl st into the next sc through the WS.
To start: Using color A, Ch 4 and join with a sl st to make a circle.
  1. sc 15x into the circle and join the circle with a sl st at the top of the first sc (15 sts.).
  2. Ch 3 (counts as 1 dc) dc in the same sc sp, 2 dc in the rest of the sc sps in the circle and join circle with a sl st at the top of the beg ch 3 (30 sts).
  3. Star Stitch row: 1 Beg Star Stitch, then create 14 more Star Stitches around the circle, hdc in the last dc and join round with a sl st into the first loop of the Beg star stitch (Makes 15 stars sts).
  4. NB: This row is actually what completes the star stitches. Basically it creates the tops of the stars. Ch 2; 3 hdc in each eye (the ch 1 space at the end each star stitch) of the stars in the previous row, hdc in the previous row's hdc (the ending stitch of row 3) and sl st into the top of the beg ch 2 to join to complete the round. (46 sts)
  5. Make the budding CL stitch around the whole circle 22x. The last sl st should go into the sc that the ch 1 came from. (makes 22 budding CLs, or 44 sts). Cast off and weave ends in (if you plan on changing colors at this point).

    The previous steps make the circle. This can be used as coaster or doily depending on which side you take on the whole debate. The following rows will show you how to make make the squared off edges to be part of a crocheted quilt or hot pad depending on what you want your square to be.
  6. Bring in Color B by sl st into any st in the circle. Ch. 3(counts as 1dc), 1 dc, 2 tr, 2 ch, 2tr, 2 dc(makes the first corner) in the same stitch that you sl st into to change colors. Hdc in the next 10 st. *(2 dc, 2 tr, 2 ch, 2 tr, 2 dc) in the next st (makes a corner), Hdc in the next 11 st.* rep * to ** 3x to form the square edges. At the end you might have to hdc in the last st. twice in order to get ll hdc on the last side. This is due to an error in the numbering of stitches in previous rounds.  Fortunately I figured a way to fix it without having to unwind the whole squares, so if you ran out of space before you completed your 11 hdc on the last side, just add one more hdc in the last st. Once you are done with your 11 hdc, sl st into the top of the ch 3 that began the round. I will at some point have to relook at this pattern to correct the round error, but it still works and does not effect the look of the square. I have made many squares and no one can tell the difference.
  7. Ch 2 (counts as 1 hdc), put hdc in the next 3 sts, *(2hdc, 2 ch, 2 hdc) in the corner, hdc in the next 18sts** repeat 3x. Sl St in the top of the ch 2 that began the round. Cast off and weave in the ends.
Here's the reverse side. Not to shabby.
You can incorporate these squares into many projects like a granny square project for an afghan (which is what I intend on doing). You can do this square to add a little more texture and beauty to any project involving squares.
 
Let me know if you are having an trouble I will try to answer your questions. Thanks for taking a gander. Have a great March!


LOOK AT WHAT I CREATED!!!! It's incredible!


Saturday, March 3, 2012

Why? Because I am hooked...

Where to begin...
I suppose I should begin my blog by explaining the purpose of adding another string of randomness into the overcrowded blogosphere. Well the title holds the key, it is mainly about crocheting because it is one of those things that I loved since I was a little girl. My mother taught me how. I won't pretend that in my teen and college years that I was avid crocheter, but as I became a fulltime mom, I discovered that crochet was my productive way of unwinding (no pun intended) after an intense day of cleaning and parenting. I sort of developed a passion for it that I didn't anticipate.

It really didn't hit me that I was an obsessive crocheter until I caught myself stopping and looking at a crocheted scarf, sweater, or hat at the store and trying to figure out if I could do it at home. It was a shocking realization as I used to scoff at the "crafty" mom. Now I understand the "crafty" mom because I am one! I even started writing in a notebook because I would get an idea for a crochet pattern and didn't want to forget it.

I am beginning this blog for many reasons. I honestly believe that I have something valuable to contribute to the crocheting community. I want to be able to share my little discoveries and be able to inspire people with new ideas. I love experimenting with different mediums like tarn (t-shirt yarn) or plarn (plastic bag yarn) (see my background for a little idea of an idea of what that looks like). I would love to share some of my little patterns I make.

 Being a Catholic and a mom has a lot of influence on how I crochet, believe it or not. I would love to be able to show you how my faith and vocation inspire me to use different mediums that is more helpful to the environment. I would love to share with you some charities that can be assisted by just being a little "crafty." Perhaps I could give you a couple of hints on how to save on your crafts. You never know what I might post regarding crochet. I plan on doing some crochet book reviews as well. The world is my oyster I suppose.

I have a couple of promises for you. I promise not to pretend to be a professional. I am a intermediate crocheter at best. I honestly don't have an answer for everything. I wish I did. I promise to be gracious host of this blog. I don't use questionable language. I promise to do my very best.

I would love to hear from you. If there are any questions or comments or suggestions about my blog, please let me know. If there is an error in my posted patterns, I welcome any constructive critiques. Now on to the blogging...